23 Sep Striking the Right Balance: The Role of Surface Finish in Machining
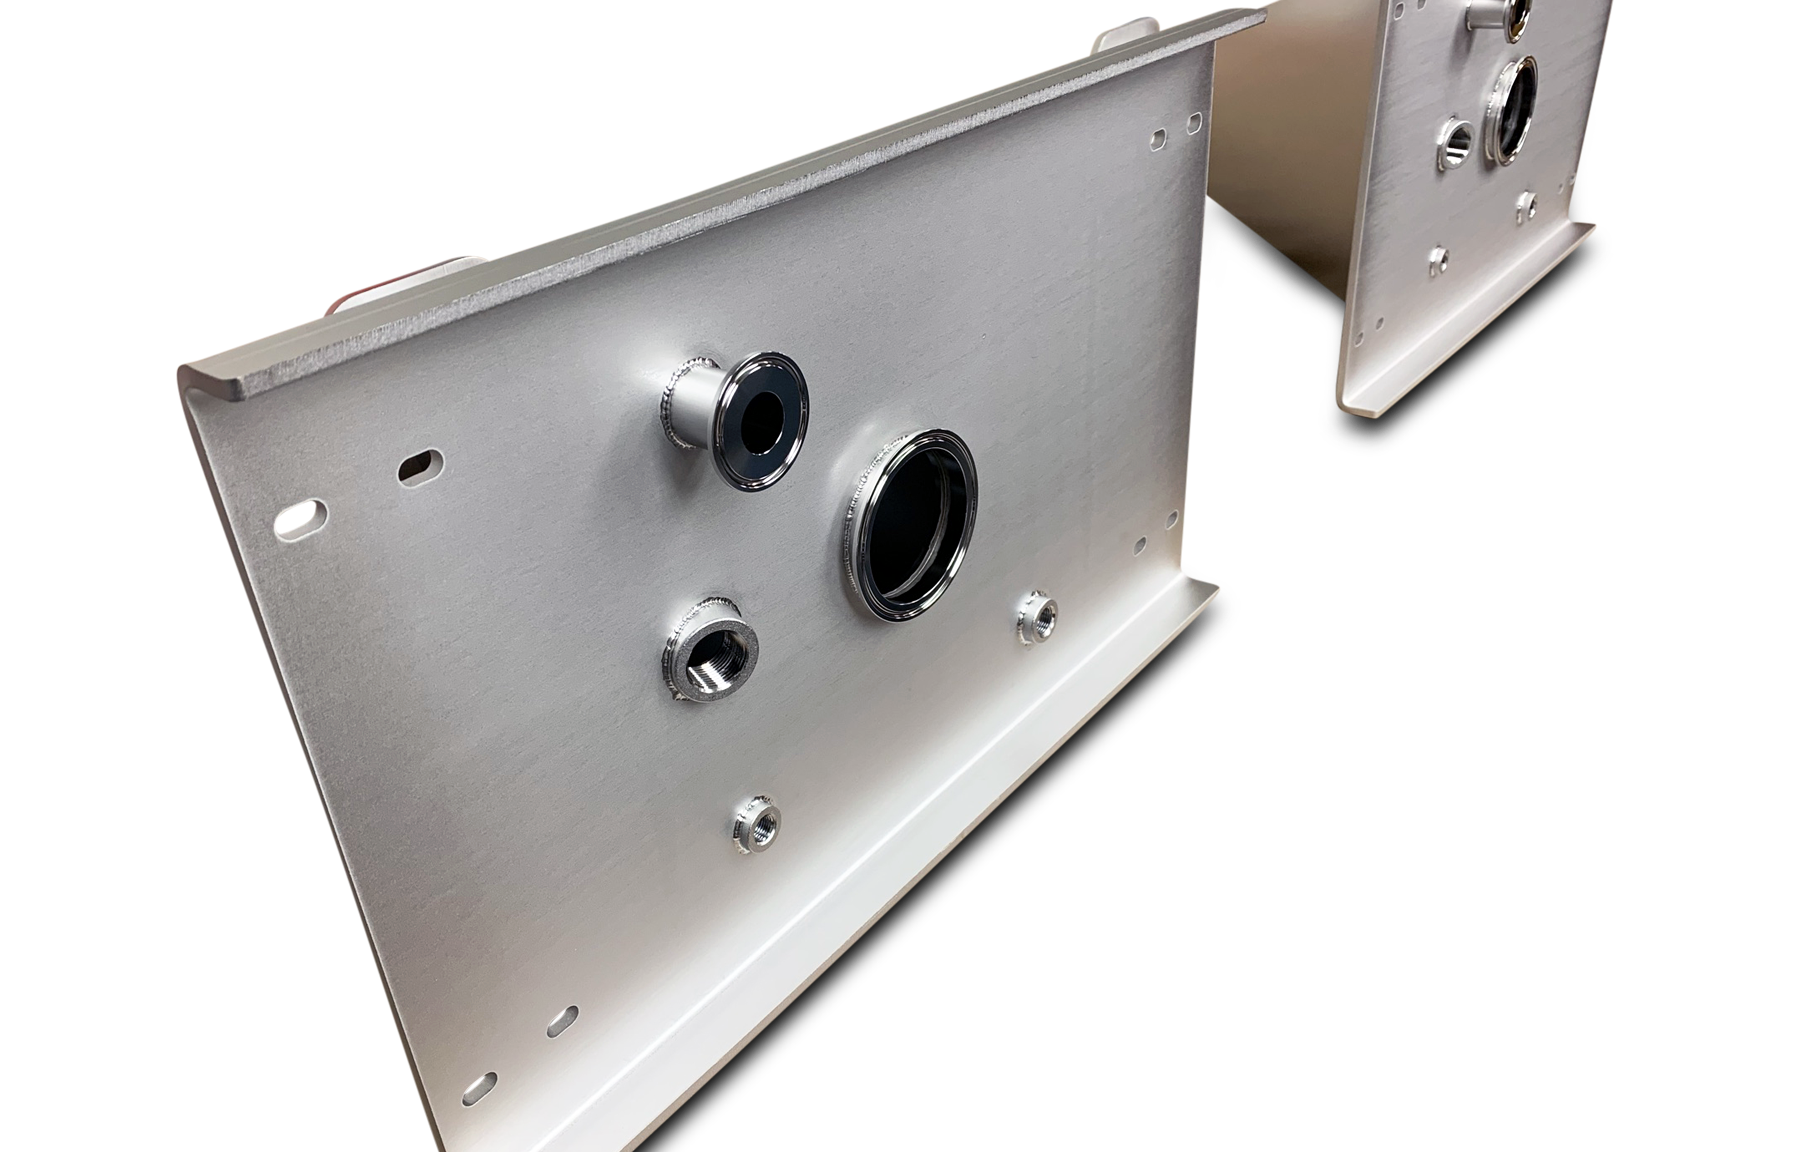
In precision machining, surface finish is far more than an aesthetic detail — it is a defining factor in how a part performs over its lifecycle. The right finish can extend service life, improve efficiency, and ensure functional reliability, while the wrong one can lead to premature wear, sealing failures, and unnecessary expense.
Why Surface Finish Matters
- Wear resistance: A rough surface can create friction points that accelerate material wear, reducing the longevity of critical components.
- Friction management: Precision finishes help minimize energy loss in moving parts, improving efficiency and reducing heat buildup.
- Sealing integrity: Components that rely on tight seals — such as hydraulic or pneumatic systems — demand smooth surfaces to prevent leakage and ensure system reliability.
The Cost of Over-Finishing
While it may seem logical to always aim for the smoothest possible surface, excessive finishing can drive unnecessary costs. Achieving ultra-fine finishes requires additional machining passes, specialized tooling, or secondary processes — all of which add time and expense without necessarily improving functionality. The challenge lies in knowing when “good enough” is truly optimal.
How to Calculate and Measure Surface Roughness
Surface roughness is typically quantified using parameters like Ra (Roughness Average), which measures the average deviation of peaks and valleys from the mean line across a surface. Other parameters, such as Rz (average maximum height of the profile), can provide additional insight into extreme variations.
Measurement can be performed using:
- Contact Profilometers: A stylus traces the surface to capture roughness values with high accuracy.
- Optical/Non-contact Methods: Laser or white-light interferometry offers fast, precise surface scans without contacting the part.
- Comparative Standards: For quick checks, machinists may use visual and tactile comparison plates to gauge surface quality.
Understanding how these values tie back to functional requirements is key to ensuring the finish is “fit for purpose.”
What to Expect with Surface Finishes
Surface finishes are often specified in microinches (µin) or micrometers (µm), with different applications requiring different ranges:
- 125 µin (3.2 µm): Typical of general machining, suitable for non-critical surfaces.
- 63 µin (1.6 µm): Common for functional surfaces requiring moderate smoothness.
- 32 µin (0.8 µm) or better: Often required for sealing, sliding, or high-stress aerospace applications.
- 8–16 µin (0.2–0.4 µm): High-precision finishes used in hydraulic, optical, or medical components.
By aligning finish requirements with real-world operating conditions, manufacturers can ensure both performance and cost-efficiency.
Let’s Build the Right Solution – Together.
At KL Engineering, capability and flexibility unite to serve one purpose: your goals. We don’t believe in one-size-fits-all. Instead, we tailor every project to fit your unique needs, seamlessly aligning with your processes and priorities. Ready to move forward with a partner who adapts to you? Visit our website or contact us today to get started on your next project: www.kle-inc.com.


